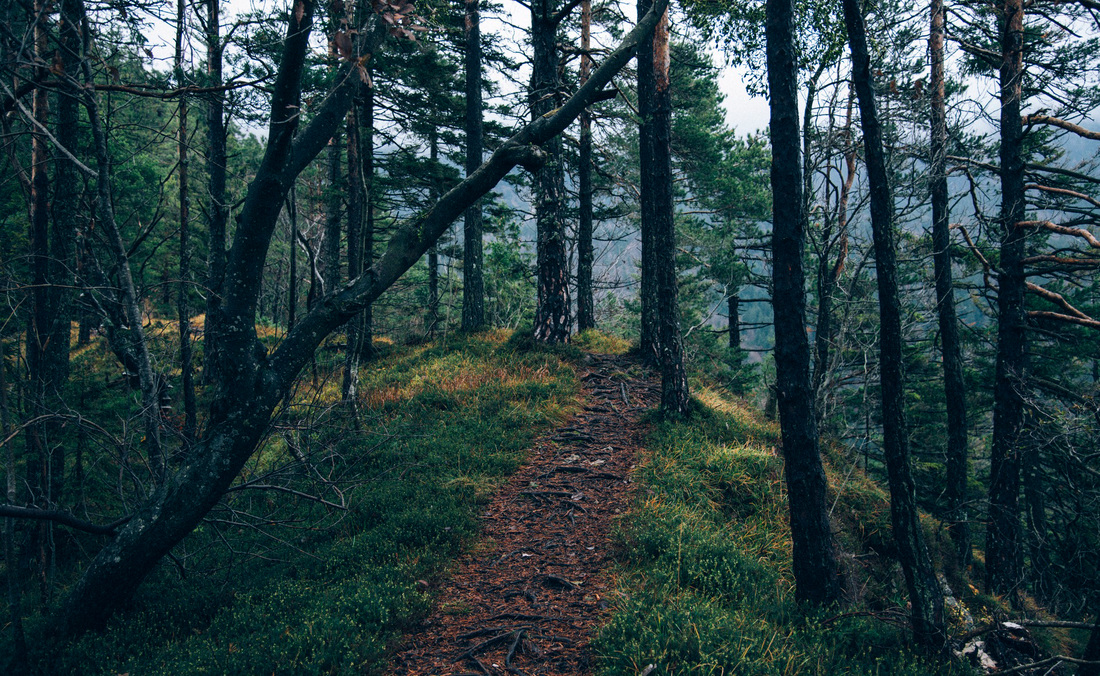
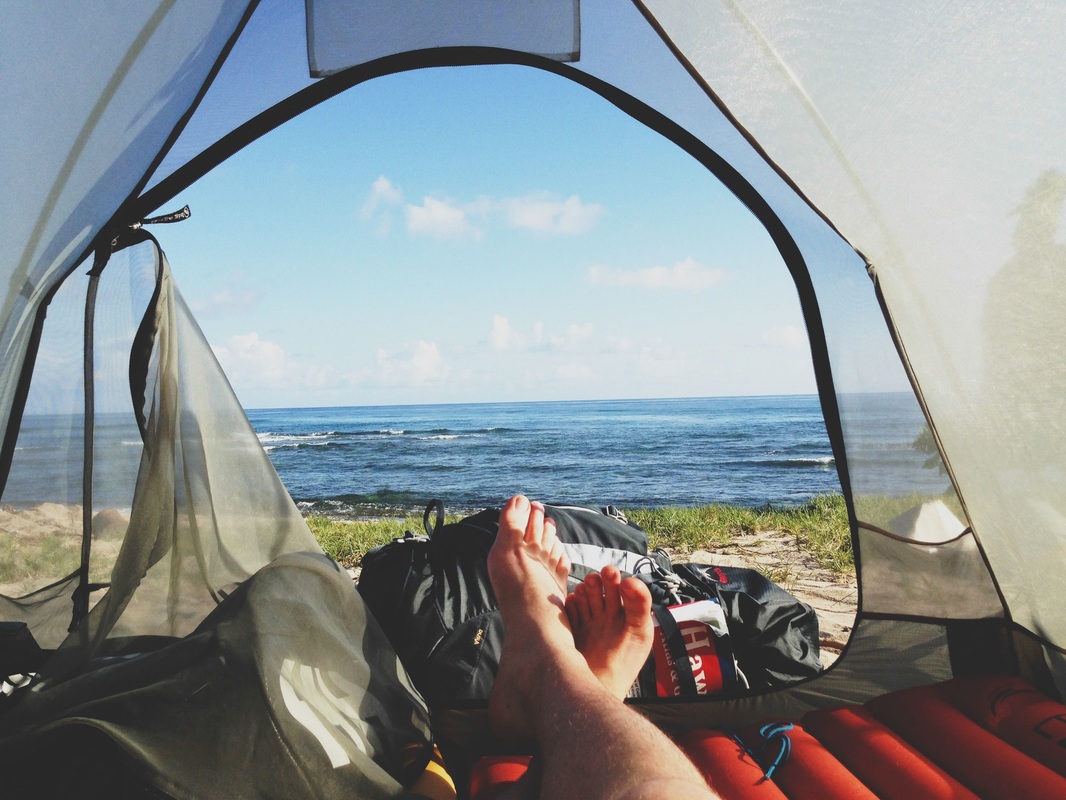
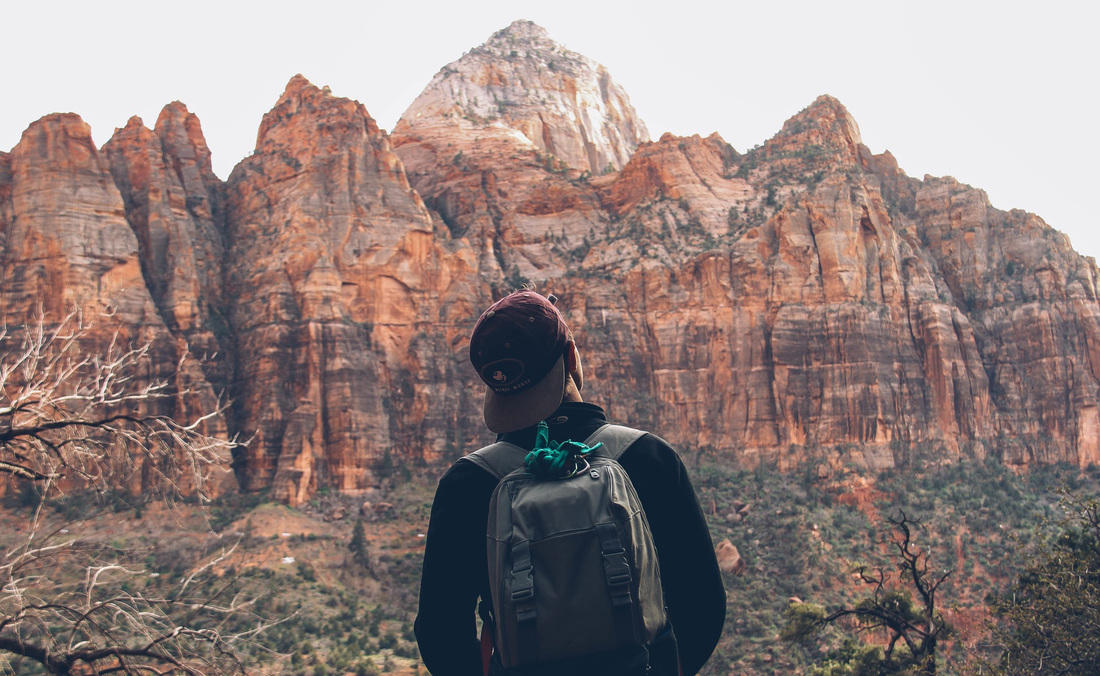
I'm James. This is my year of travel.
 
If you started the cameras manually one by one the offsets can be larger since it takes a couple of seconds to turn all cameras on. if you started the cameras with the Wifi remote the offsets shouldn’t be more than a couple of frames. Check that the offsets are reasonable, i.e.If there is no audio signal for synchronization please see Remark 2 on the bottom of the page. For this part of the tutorial we assume there was a loud sound pattern (like a clap) at the start of the video. Synchronization: Creating a good calibration and therefore a good final video requires that the source videos are properly synchronized.Drag and drop your six source videos into VideoStitch.Choose your Language: English or French.Calibration Tool: Browse to the folder that contains PTGui.Choose your CUDA Device (only necessary if you have more than NVIDIA card in your system).Note: The Output, Interactive and Process panels become available after a calibration has been imported and a video is ready to stitch. Here is a picture of the interface: The workspace consists of 4 panels which are stacked behind each other (upper right corner).VideoStitch opens onto the Source panel. However, if you already familiar with PTGui and its panorama stitching capabilities feel free to skip the middle tab. Therefore great care should be applied to this part to achieve the best possible result. A calibration is a stitching template for VideoStitch. The middle part is about editing the calibration in PTGui. The process starts and ends with the VideoStitch interface: load the images, synchronize, create a calibration, apply the calibration, adjust exposure, preview the result as equi-rectangular or interactive movie, choose output parameters and render. The VideoStitch workflow consists of three parts presented in the tabs below. The 360º video stitching workflow with VideoStitch using PTGui as calibration tool: Use this template to start building your own calibration for VideoStitch.It gives you a good starting point, but you still need to optimize it. It contains all basic settings and image parameters to create a first stitch.The template is optimized for the Freedom360 mount with GoPro HD Hero3 black cameras.Download the PTGui template Hero3 black (if you are using the black edition) from our Samples and Template section for free.Place all 6 video files in the same folder.If there are several movie files please see Remark 1 below for more info. Make sure there is one file per camera and name the videos i.e.Transfer files from the micro SD card to your hard drive.Shoot video: learn more about camera settings and how to connect and use the wifi remote in Tutorials.clapping hands) at the beginning of the video. Use the same frame rate with all GoPro cameras.Minimum requirement to achieve a good stitch: PTGUI pro (or Hugin) for camera calibration (and stitching templates).NVIDIA graphics card: CUDA compatible, compute capability 1.3 or better, 2GB minimum, 4GB recommended (more CUDA cores are better, more GPU memory lets you render larger frames).VideoStitch Workflow and Tips System requirements:
0 Comments
Leave a Reply. |
AuthorWrite something about yourself. No need to be fancy, just an overview. ArchivesCategories |
 RSS Feed
